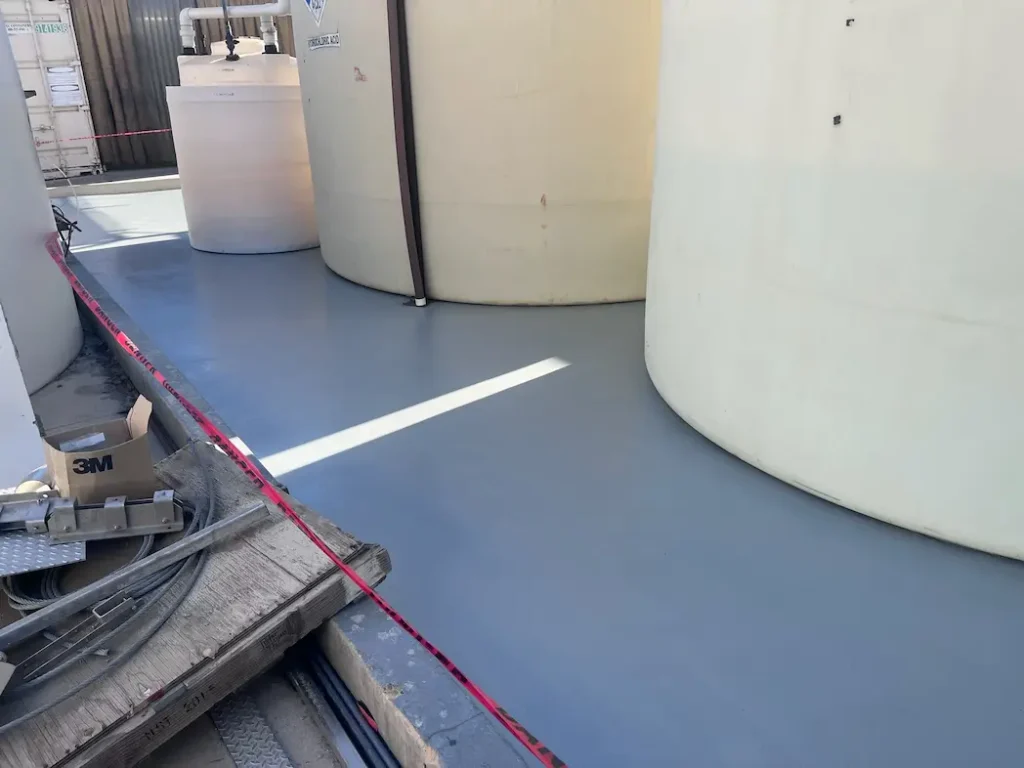
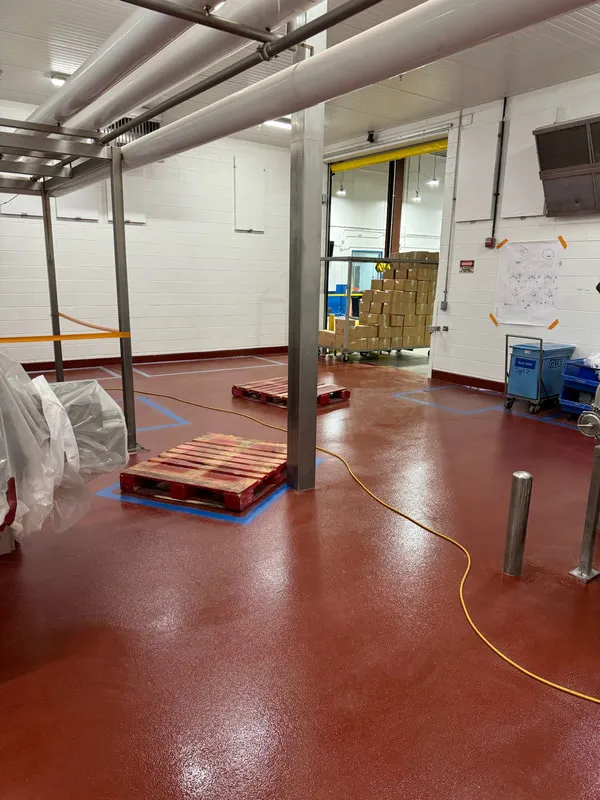
A food plant coating system is one assembly, not four scopes
The single most expensive mistake we see in food processing facility coatings is treating the floor, the integral coving, the walls, the ceilings, and the drain transitions as separate line items on separate bids. They are not separate. In a wash-down environment running caustic CIP chemistry at 160–180°F, a food plant coating system either holds together as one continuous, cleanable, chemically inert membrane — or it fails at the joint between two scopes and takes the auditor's next visit with it.
Over 25 years installing sanitary coatings in dairies, meat plants, poultry processors, breweries, wineries, and flavor-manufacturing facilities across the Western U.S., the pattern is the same on every failure investigation: the resin on the floor was fine, the coating on the wall was fine, the drain grate was fine — but the transition detail between them was cold-jointed, and moisture, product, or CIP solution found the gap inside the first 18 months. This guide walks the entire assembly the way a plant engineer actually has to spec it: zone by zone, with the failure modes, systems, and 2026 cost bands we quote today.
Zone-by-zone system spec for a food processing plant
Not every square foot of a food processing facility needs a $22/sf urethane cement system. Over-specifying dry zones burns budget that should have gone into the wet-processing rooms where you actually need the chemistry. Under-specifying wet zones is how a two-year-old floor ends up cited on a USDA FSIS walk-through. Here is the zone map we build every plant-wide quote against.
| Zone | Service condition | Recommended system | Total build | Realistic lifespan |
|---|---|---|---|---|
| Raw receiving / kill floor | Blood, fat, bone, 140°F rinse, daily CIP | 1/4″ trowel-down urethane cement + novolac topcoat | 1/4″ – 3/8″ | 15 – 20+ years |
| Cook / kettle / retort room | 180°F rinse, thermal shock, caustic CIP | 1/4″ urethane cement slurry + urethane topcoat | 1/4″ | 15 – 20+ years |
| Chill / cooler (34–40°F) | Continuous cold, condensate, foot and pallet-jack traffic | 3/16″ urethane cement slurry | 3/16″ | 12 – 18 years |
| Packaging / dry production | Ambient, light abrasion, occasional spill | 60–100 mil quartz-broadcast epoxy + polyaspartic topcoat | 60 – 100 mil | 10 – 15 years |
| Wash / CIP bay | Standing water, caustic + peroxyacetic acid, thermal cycling | 1/4″ novolac-fortified urethane cement, integral cove to 6″ | 1/4″ | 15 – 20+ years |
| Ingredient warehouse | Forklift traffic, dry, climate-controlled | 40 mil high-build epoxy + urethane topcoat | 40 mil | 8 – 12 years |
| QA lab / office | Foot traffic, appearance-driven | Decorative flake epoxy + polyaspartic | 30 – 60 mil | 10 – 15 years |
Why urethane cement dominates the wet side — and where epoxy still wins
The reason every serious food processing plant we've walked in the last decade runs urethane cement on the wet side comes down to one number: coefficient of thermal expansion. Concrete moves at roughly 5.5 × 10⁻⁶ in/in/°F. Standard epoxy moves at roughly 18 × 10⁻⁶ — more than 3× as fast. Hit a 45°F floor with a 180°F rinse cycle and the epoxy shears at the bond line inside two seasons. Urethane cement's CTE is nearly identical to concrete, which is why we've walked back onto urethane-cement floors we poured in 2007 that still look installation-day new after 5,000+ thermal cycles.
That does not mean epoxy is obsolete in a food plant. In dry packaging halls, ingredient warehouses, QA labs, and offices — anywhere the floor stays within 20°F of ambient and doesn't see aggressive CIP — a properly built quartz-broadcast epoxy at 60–100 mil is the right answer for half the money. The rule we give plant engineers: if the room gets hosed down at temperature, urethane cement; if it doesn't, epoxy is usually the better spec.
Walls, ceilings, and the panel-versus-coating question
Floors get the attention, but USDA FSIS inspectors read walls and ceilings just as closely. Seams in panelized wall systems trap product residue, harbor Listeria, and are the most common wall-side citation we see on inspection reports. A seamless coated wall and ceiling assembly — properly detailed at the floor cove and the ceiling-to-wall corner — eliminates the panel seam entirely.
Seamless epoxy wall systems
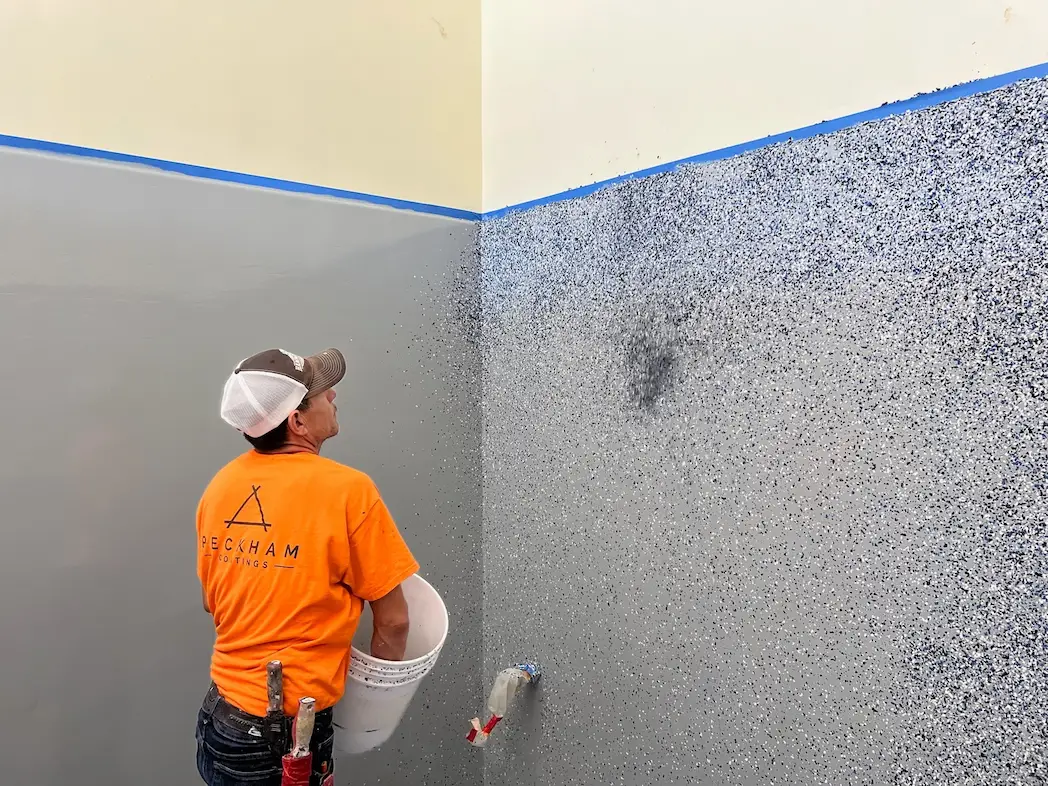
A two-coat high-build epoxy at 25–35 mil, roller-applied over prepared CMU or drywall, gives you an FDA-compliant, non-porous, fully cleanable wall that meets USDA FSIS sanitary-design requirements. In wet-processing rooms, we upgrade to a fiber-reinforced epoxy topcoat for impact resistance from carts and pallets. Mil builds, prep, and detailing on the wall side are covered in our epoxy wall coatings specification guide.
Antimicrobial and fiber-reinforced options
Silver-ion antimicrobial additives are available in most modern epoxy wall topcoats and give an added layer of pathogen control between sanitation cycles. Fiber-reinforced wall systems (chopped-fiberglass mat set into an epoxy matrix) provide panel-level impact resistance without the seams and are the spec we default to in high-traffic corridors between production rooms.
Ceilings
Ceilings in wet-processing zones need to be washable and drip-free. A satin urethane-topcoated epoxy at 20–25 mil handles overhead condensate without dripping product-side. Skip acoustic tile in any zone that gets sanitized — it holds moisture and grows what auditors are trained to find.
Integral coving and drain transitions: the #1 failure line
Every failure investigation we've run in a food plant traced back to one of two details: the cove at the wall, or the transition into the drain. Get these right and a 20-year floor is realistic. Get them wrong and the resin chemistry above them almost doesn't matter.
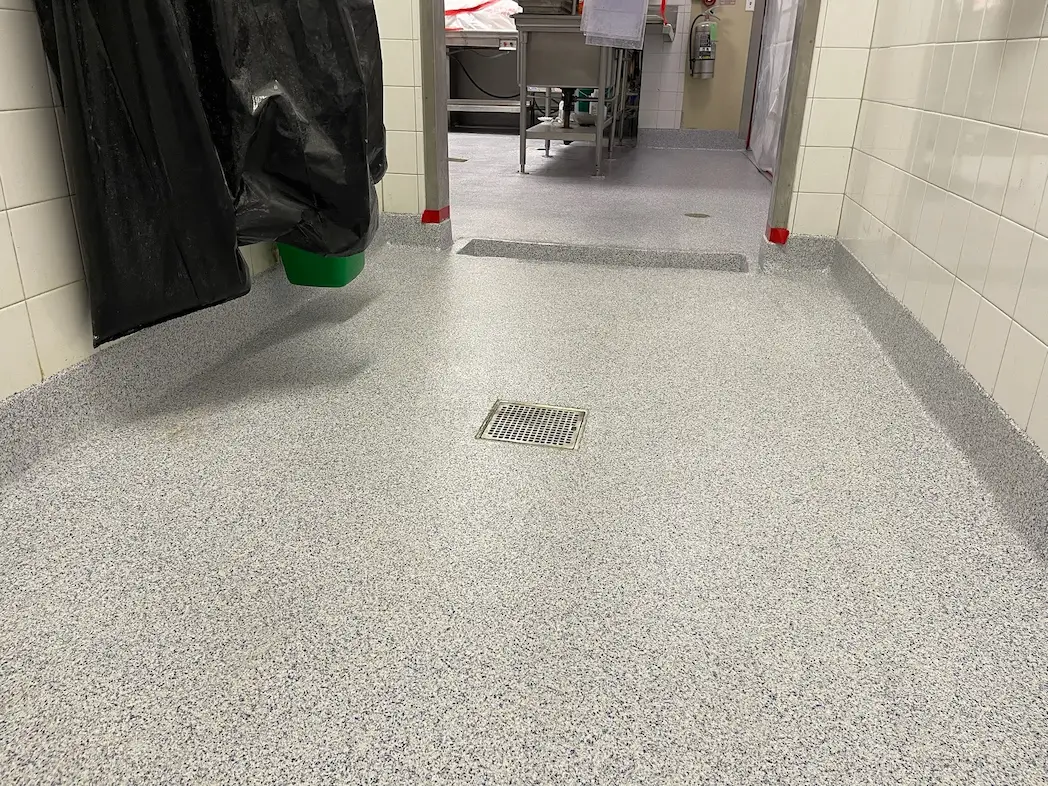
- ›Integral cove base — troweled from the same urethane-cement batch as the floor, minimum 4″ tall in dry rooms, 6″ in wet-processing, radiused (not right-angled) so it can actually be cleaned.
- ›Drain body detail — floor coating must terminate over the drain flange, not butt into it. We rout a keyway around every drain, prime, and lap the urethane cement over the flange to eliminate the joint.
- ›Trench drain edges — chase and fill the concrete edge, prime, and terminate the coating with a bead of chemical-resistant sealant so the CIP wand can't lift the edge.
- ›Wall-to-wall corners — internal corners get a coved fillet; external corners get a stainless corner guard bedded into the wall coating.
- ›Equipment pads and pedestals — coat the pad first, then set equipment; never coat around a mounted pedestal and leave the base exposed.
Compliance quick-reference (USDA, FDA, 3-A, OSHA)
Food processing coatings live under four overlapping compliance regimes. None of the major industrial resin systems are inherently 'USDA approved' — the specification, the detailing, and the documentation are what pass an inspection. The OSHA row is the one plants overlook most often: walkway striping and non-slip floor coatings in wet processing aisles get inspected alongside the sanitary details.
| Standard | What it covers | What matters for coatings |
|---|---|---|
| USDA FSIS Sanitary Standards | Meat, poultry, egg facility design | Coved bases, non-absorbent surfaces, no cracks or seams, drainable slopes |
| FDA 21 CFR 110 / 117 | Food-contact and food-processing facility material safety | No leaching, non-toxic cured film, cleanable |
| 3-A Sanitary Standards | Dairy equipment and facility surfaces | Chemical resistance to CIP, thermal cycling, seamless assembly |
| OSHA striping / walkway | Worker safety, egress, hazard identification | Yellow walkway striping, red hazard, non-slip aggregate rating |
Scheduling around production: downtime is the real cost
For most food processors we work with, the $/sf on the coating bid is 20% of the real project cost. The other 80% is production downtime. A 30,000 sf install done on an eight-day shutdown vs a two-day sequenced weekend can be a six-figure swing in lost throughput. These are the levers we pull to compress downtime.
- ›Fast-cure MMA systems — return-to-service in 2 hours vs 24–72 hours for standard epoxy or urethane cement. Higher $/sf, but often the cheapest total cost when downtime is priced in.
- ›Sequenced installs — one production line at a time, coating around active equipment behind temporary containment walls, so the rest of the plant keeps running.
- ›Night and weekend crews — coordinated with sanitation so the floor is prepped, coated, cured, and back under sanitation on Monday morning.
- ›Modular room-by-room plan — walked with the plant engineer and QA lead before any resin is ordered, so a failed cure or weather delay doesn't cascade into a week of lost production.
What a complete food-plant coating quote should include
If you're comparing bids from two or three contractors, the per-square-foot number is the least useful data point on the page. What follows is the checklist we hand plant engineers so they can normalize bids into a real apples-to-apples comparison.
- ›Slab moisture test results (ASTM F1869 calcium chloride or F2170 RH probe) and, if failed, the moisture-mitigation primer spec.
- ›Surface prep method and target CSP profile (CSP-4 shotblast is standard for urethane cement; anything less is a warning sign).
- ›Full stack-up by zone: primer, base, aggregate, topcoat — with dry film thickness in mils for each layer.
- ›Integral cove detail height and radius, drain transition detail, and joint / crack chase-and-fill scope.
- ›Wall and ceiling scope with resin type, mil build, and antimicrobial or fiber-reinforced call-outs.
- ›Written warranty — length, what's covered (adhesion, blistering, wear-through), and what voids it.
- ›Production schedule — mobilization window, crew size, shift plan, and turnover milestones by room.
- ›Documentation package — batch numbers, application logs, moisture readings, and pull-off adhesion (ASTM D4541) results at turnover, so your QA team has the paperwork for the next USDA visit.
Related resources
- USDA & 3-A compliance guide — full breakdown
- Urethane cement vs epoxy — which is right?
- Industrial floor coatings — full system guide
- Epoxy flooring installation process — step by step
- Brewery floor coatings — what holds up in production
- Food processing facility coatings — service page
- Talk to an estimator about your plant
FAQ
How long do food processing plant floor coatings actually last?
Urethane cement systems in wet-processing zones — raw handling, kill floors, cook rooms, CIP bays — routinely run 15 to 20+ years with only periodic topcoat refreshes. Quartz-broadcast epoxy in dry packaging and warehousing runs 10 to 15 years. Thin-film epoxy in a wet food plant typically fails inside 2–3 years and should not be spec'd there in the first place. Lifespan tracks the match between system and service condition, not the resin brand.
Is urethane cement always better than epoxy in a food plant?
No. Urethane cement is the right answer anywhere the floor sees hot washdown, thermal cycling, caustic CIP, or animal fat — which is most wet-processing zones. In dry packaging halls, ingredient warehouses, QA labs, and offices, a properly built quartz-broadcast epoxy at 60–100 mil is the right spec for roughly half the installed cost. Over-specifying urethane cement in dry zones is a common way to burn 20–30% of a plant-wide budget.
What does a food processing facility coating system cost per square foot in 2026?
Turnkey installed cost in the Western U.S. runs roughly $8 to $14/sf for high-build epoxy in dry zones, $14 to $22/sf for 1/4″ urethane cement in wet-processing zones, and $6 to $10/sf for seamless epoxy wall systems. Plant-wide averages typically land between $11 and $16/sf when you blend wet and dry zones. Moisture mitigation, structural concrete repair, and expedited overnight schedules are add-ons on top of these ranges.
Is any epoxy or urethane cement actually 'USDA approved'?
USDA does not maintain an approved-product list for floor coatings. What USDA FSIS inspectors look for is a facility that meets Sanitary Standards — non-absorbent, seamless, coved, cleanable, drainable — and that the operator can document. Every major industrial resin manufacturer offers systems that meet the design intent; passing inspection depends on the specification, the coving and drain detailing, and the paperwork at turnover, not the label on the bucket.
Do we need to coat walls and ceilings, or are wall panels enough?
Panelized wall systems are USDA-acceptable but seam-dependent — every seam is a place product residue and pathogens can hide, and seams are the most common wall-side citation we see on inspection reports. A seamless coated wall assembly at 25–35 mil eliminates the seam entirely, is easier to cove into the floor as a single sanitary detail, and typically costs less installed than panels with proper trim and sealant maintenance over a 10-year window.
How much production downtime should we plan for a plant-wide recoat?
A 30,000 sf plant-wide recoat done on standard-cure urethane cement realistically needs a 7 to 10 day sanitation shutdown. The same scope done room-by-room with fast-cure MMA in sequenced weekend blocks can compress the production loss to 12–20 hours per zone with the plant running the rest of the week. On projects where downtime is priced in, fast-cure MMA is often the cheapest total-cost option even at a higher $/sf.